How to Stand on the Footpegs with Correct Body Position
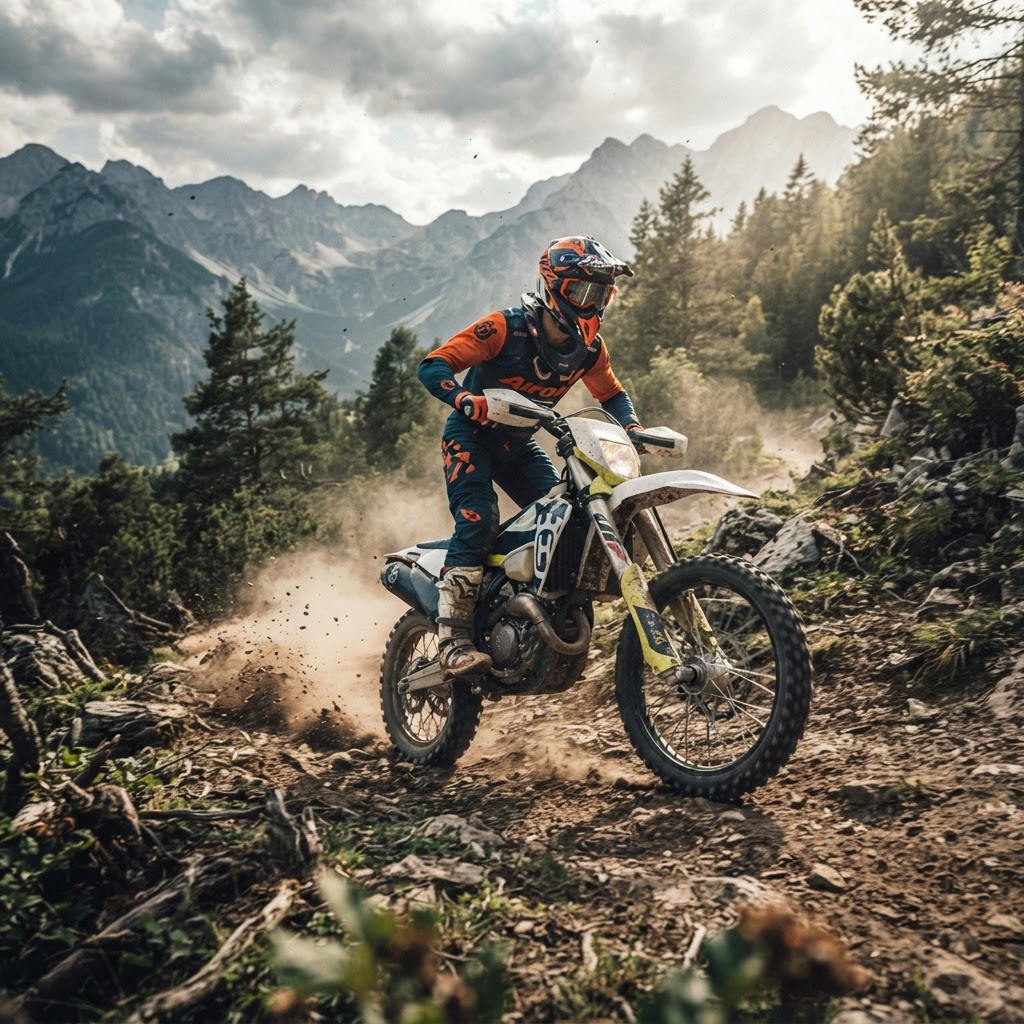
Master the art of standing on your enduro bike to improve balance, control, and terrain absorption through proper weight distribution and athletic posture.
Standing on the footpegs is the single most important skill for any intermediate enduro rider looking to conquer technical terrain. By transitioning from a seated to an athletic standing position, you unlock the ability to use your legs as natural suspension. This guide will help you refine your posture to maintain control and confidence on the trail.
What It Is and Why It Matters
Standing on the footpegs is the foundation of off-road motorcycle control. When you stand, you effectively disconnect your body weight from the chassis, allowing the bike to move, pitch, and track over obstacles independently of your center of gravity. This position lowers your overall center of mass and provides a wider range of motion, enabling you to react instantly to terrain changes, ruts, and sudden impacts that would otherwise unsettle a seated rider.
Beyond simple stability, standing improves your line of sight and allows for more precise weight distribution. By keeping your feet on the pegs and your body centered, you can shift your weight forward for traction during climbs or backward to prevent endos on steep descents. Mastering this technique transforms the bike from a rigid machine into an extension of your body, significantly reducing fatigue and increasing your safety on unpredictable surfaces.
Step-by-Step Technique
- Position the balls of your feet — Place the balls of your feet firmly on the center of the footpegs rather than the arches. This placement provides the leverage needed to pivot your ankles and shift your weight quickly. It also keeps your toes away from the brake and shift levers, preventing accidental inputs while navigating rough sections.
- Maintain a soft knee bend — Never lock your knees while standing, as this turns your body into a rigid post that transfers every impact directly to your spine. Keep your knees slightly bent and flexible to act as secondary suspension for the bike. This softness allows the motorcycle to move underneath you without throwing you off balance.
- Grip the tank with your knees — Rotate your toes slightly inward toward the engine cases to naturally engage your inner thighs against the bike. Gripping the tank with your knees provides a stable triangle of contact that keeps you locked to the machine. This connection is vital for steering the bike with your lower body rather than just your arms.
- Keep your back straight and chest up — Avoid hunching over the handlebars, which restricts your movement and puts unnecessary strain on your shoulders. Maintain a neutral, upright spine with your chest positioned over the bar area. This posture keeps your head up, allowing you to scan the trail further ahead for obstacles.
- Open your elbows — Keep your elbows bent and pointed outward, similar to an athletic 'chicken wing' position. This allows you to absorb impacts through your arms and provides the necessary leverage to steer the bike effectively. If your elbows are tucked in, you lose the ability to react quickly to sudden handlebar deflections.
- Center your weight — Your hips should remain centered over the footpegs during neutral riding to keep the bike balanced. When accelerating, lean your upper body slightly forward to keep the front wheel planted. When braking, shift your hips back to counteract the weight transfer and maintain stability.
- Look ahead, not down — Your bike will naturally follow where your eyes are focused. Avoid looking directly at your front fender, as this prevents you from anticipating upcoming terrain changes. Keep your gaze fixed 15 to 20 feet ahead to allow your brain time to process the trail and adjust your body position accordingly.
2-Stroke vs 4-Stroke Differences
The fundamental standing position remains identical regardless of engine type, but the power delivery characteristics require subtle adjustments. On a 4-stroke, the engine braking is more pronounced, meaning you must be more deliberate with your rearward weight shift during deceleration to prevent the front end from diving. Conversely, 2-strokes often have a lighter, snappier feel; you may need to stay more centered or slightly forward to keep the front wheel down during aggressive acceleration, as the power band can cause the front end to lift unexpectedly.
5 Common Mistakes (and How to Fix Them)
1. Riding on the arches of your feet.
Force yourself to place the balls of your feet on the pegs; this is the only way to maintain ankle mobility and reach the controls.
2. Locking your knees straight.
Consciously bend your knees until you feel your quadriceps engaging, which acts as a shock absorber for your body.
3. Hunching your shoulders and locking your elbows.
Drop your shoulders and push your elbows out; this creates a 'floating' upper body that can react to the bike's movements.
4. Looking down at the front wheel.
Force your chin up and look at the horizon or the next turn to improve your balance and reaction time.
5. Gripping the bars too tightly.
Relax your grip and let your legs do the work of holding onto the bike; a death grip on the bars causes arm pump and poor steering.
Practice Drill You Can Do in Your Yard
Find a flat, open area and practice standing while riding in a slow, controlled figure-eight pattern. Focus entirely on keeping your weight centered and your knees gripping the tank throughout the turn. Once comfortable, add small, deliberate weight shifts forward and backward to feel how the bike reacts to your body movement.
Motorcycle Setup & Tuning Notes
Ensure your handlebar height and lever angles are adjusted for a standing position, not a seated one. If you feel like you are reaching too far down, consider bar risers to improve your posture. Additionally, ensure your rear brake pedal is set low enough so you can reach it comfortably with your toe while standing without having to lift your foot off the peg.
Frequently Asked Questions
Q: Should I stand for the entire ride?
You should stand for the majority of technical, bumpy, or loose terrain to maintain control. You can sit on smooth, fast sections to conserve energy, but always return to the balls of your feet.
Q: Why do my legs get tired so quickly when standing?
Leg fatigue usually happens because you are using your muscles to hold yourself up rather than using your core and knee grip. Focus on gripping the tank with your legs to support your weight, which takes the strain off your quads.
Q: Is it okay to touch the tank with my knees?
Yes, it is encouraged. Gripping the tank with your knees is the primary way to steer the bike and keep your body stable while standing.
Q: How do I reach the rear brake while standing?
Adjust your rear brake pedal height so it is easily accessible with your toe while your foot is in the correct position. Practice hovering your toe over the lever so you can apply pressure without shifting your foot.
Relevant Bike
GasGas EC 300Track your progress and join the community
Create a free account to save the technique guides you've mastered, make race predictions, play trivia, and connect with enduro riders worldwide.