How to Feather the Clutch on an Enduro Bike
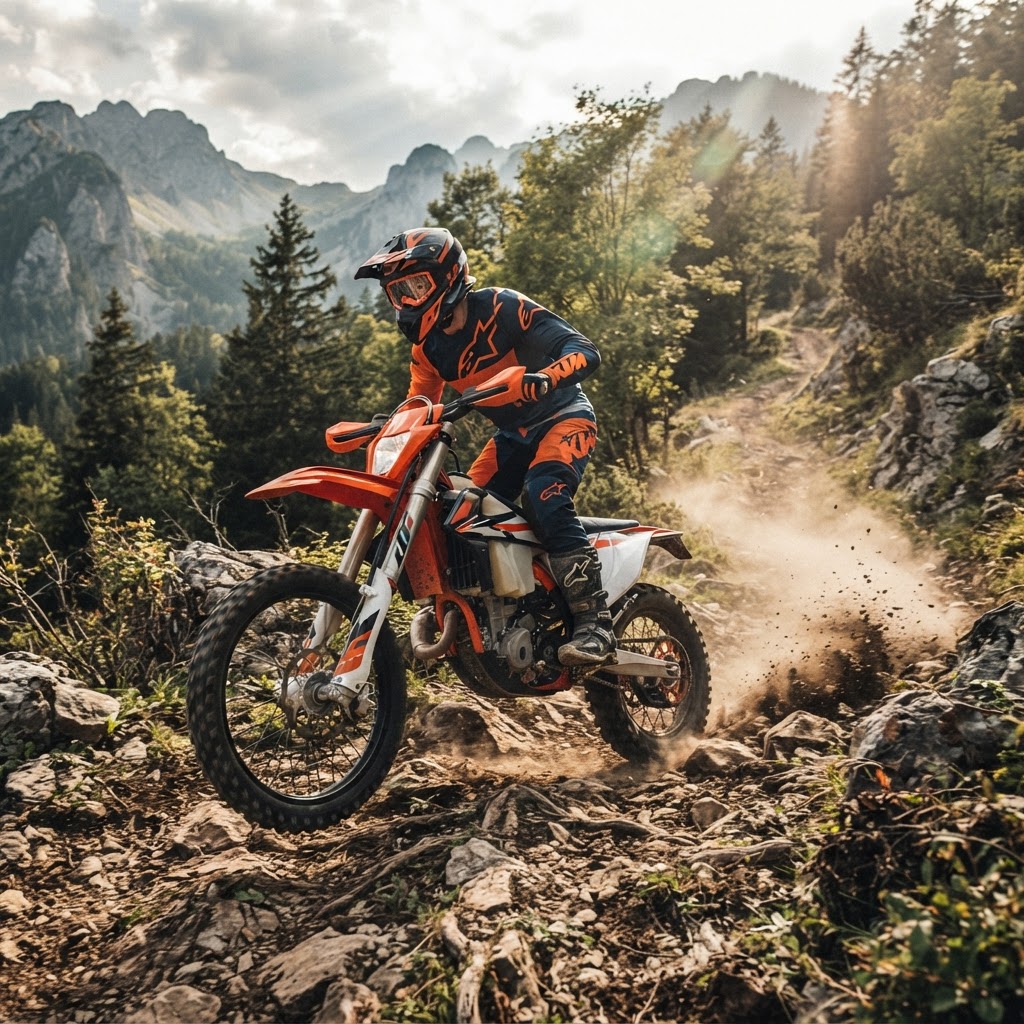
Master the art of clutch feathering to gain precise traction control, maintain momentum at low speeds, and conquer technical enduro terrain with confidence.
Feathering the clutch is the single most important skill for any enduro rider looking to transition from casual trail riding to technical terrain. By mastering the friction zone, you gain the ability to meter power precisely, allowing you to maintain momentum where others stall or spin out. This guide will help you develop the muscle memory required to turn your clutch lever into a precision traction-control device.
What It Is and Why It Matters
Clutch feathering is the act of keeping your clutch lever within the friction zone—the narrow range where the engine power begins to engage with the transmission—to modulate torque to the rear wheel. Instead of relying solely on the throttle, which can cause erratic wheel spin or stalling, you use the clutch to 'slip' the power delivery. This allows you to keep the engine in its happy, high-torque RPM range while moving at a crawl, which is essential for navigating rocks, logs, and steep, muddy climbs.
This technique matters because it decouples your engine speed from your ground speed. By keeping the engine spinning, you maintain the gyroscopic stability of the wheels and ensure you have instant power on tap to lift the front end or clear an obstacle. It transforms the bike from a machine that wants to lurch forward into a predictable, tractor-like tool that you can place exactly where you want it, even at sub-walking speeds.
Step-by-Step Technique
- Find the Friction Zone — With the bike in neutral, pull the clutch in and shift into first gear while keeping the engine at a steady, low idle. Slowly release the lever until you feel the bike begin to pull forward, then immediately pull it back in. Repeat this motion until you can identify the exact millimeter where the engine starts to bite.
- Set Your Throttle — Establish a constant, slightly elevated throttle position that keeps the engine just above the stall point. Do not 'blip' the throttle during this phase, as you want the engine to provide a steady, predictable baseline of power. Your goal is to let the clutch, not the throttle, do the work of managing your speed.
- Master the Micro-Slip — While moving in a straight line, use only one or two fingers on the clutch lever to make tiny, 1-2mm adjustments. If the bike feels like it is going to stall, pull the lever in slightly to let the engine spin up; if you need more drive, release it slightly to engage more power. Keep these movements fluid and rhythmic rather than jerky.
- Integrate Rear Brake — To achieve maximum control, you must learn to 'drag' the rear brake while feathering the clutch. By applying light pressure to the rear brake, you create a load against the engine that stabilizes the chassis and prevents the bike from surging forward. This combination of clutch and brake is the secret to perfect, slow-speed balance.
- Maintain Body Position — Stand on the pegs with your knees gripping the tank and your head positioned over the handlebars. Keep your weight centered so that your inputs to the clutch and throttle do not upset the bike's balance. If you are leaning too far back, your throttle and clutch inputs will cause the front end to become light and unpredictable.
- Look Ahead — Focus your eyes on where you want to go, not on the front fender or the obstacle directly in front of you. Your body naturally follows your eyes, and looking ahead helps you anticipate the necessary clutch adjustments before you reach a technical section. If you look down, your timing will be late, leading to jerky inputs.
- Practice Under Load — Once you are comfortable on flat ground, move to a small incline or a patch of loose dirt. Apply the same feathering technique to maintain a constant, slow speed while climbing. You will feel the engine working harder, which is the perfect time to refine your ability to keep the rear wheel from spinning.
2-Stroke vs 4-Stroke Differences
On a 2-stroke, the engine has less rotating mass and a narrower powerband, meaning you must be more active with the clutch to keep the engine in the 'meat' of the power. You will find yourself slipping the clutch more frequently to prevent stalling and to keep the engine from dropping off the pipe. Conversely, a 4-stroke has more engine braking and a broader, more linear torque curve, which allows for slightly less clutch intervention. However, on a 4-stroke, you must be careful not to stall the engine at low RPMs, so a light touch on the clutch is still mandatory for technical, slow-speed maneuvers.
5 Common Mistakes (and How to Fix Them)
1. Using four fingers on the clutch lever.
Switch to one or two fingers to maintain a better grip on the handlebars and prevent over-pulling the lever.
2. Chopping the throttle when the bike gets unstable.
Keep the throttle steady and use the clutch to modulate power, which keeps the engine spinning and the bike stable.
3. Looking down at the front wheel.
Force your eyes up to the horizon or the exit of the obstacle to improve your balance and timing.
4. Sitting down during technical sections.
Stand on the pegs to allow your legs to act as secondary suspension and keep your center of gravity neutral.
5. Over-slipping the clutch and causing it to overheat.
Ensure you are in the correct gear for the terrain so you don't have to rely on excessive slipping to keep the bike moving.
Practice Drill You Can Do in Your Yard
Find a flat, open area and set up a straight line about 20 meters long. Attempt to ride the entire length as slowly as possible—aim for a time of 30 seconds or more—using only the clutch and rear brake to control your speed. If you can do this without putting a foot down, try it again while weaving through a series of markers. This drill builds the exact muscle memory needed for technical trail riding.
Motorcycle Setup & Tuning Notes
Ensure your clutch lever is positioned so that you can reach it comfortably with one or two fingers while standing. Adjust your lever reach so the friction zone is easily accessible without your fingers being fully extended. Additionally, ensure your chain tension is correct, as a loose chain can make power delivery feel snatchy and inconsistent when you are trying to feather the clutch.
Frequently Asked Questions
Q: Will feathering the clutch wear out my plates prematurely?
While constant slipping does increase wear, modern enduro clutches are designed to handle this abuse. Using the correct gear and maintaining proper oil levels will significantly extend the life of your clutch plates.
Q: Is it better to use one or two fingers on the clutch?
Most expert riders prefer one or two fingers because it allows you to maintain a firm grip on the handlebar with the remaining fingers. This provides better control over the bike when you hit bumps or obstacles.
Q: How do I know if I am in the right gear?
You are in the right gear if the engine feels responsive and you don't have to slip the clutch excessively to keep the bike moving. If you find yourself constantly stalling, you are likely in a gear that is too high.
Q: Can I use this technique on the street?
Yes, feathering the clutch is an excellent way to improve your low-speed control and confidence in traffic. It makes U-turns and slow-speed maneuvers much smoother and more stable.
Relevant Bike
GasGas EC 300Track your progress and join the community
Create a free account to save the technique guides you've mastered, make race predictions, play trivia, and connect with enduro riders worldwide.